Showing posts with label Belle Ballgown. Show all posts

Monday, November 9, 2015

Belle Ballgown - Shaping the Skirt

This time around, I'm not going to cut into the beautiful gold fabric until I have a complete mockup.  In the past, I'd get a bit of a mockup started and then jump right into real fabric, inevitably making mistakes and having to work with what I'd already cut out. That means that every part of the dress will be figured out first.  It may take longer, but I should have a better final result.

The pattern I selected for Belle's gown has five large pieces in the skirt. According to the film, Belle's dress should have eight sections. This means I have to do some figuring out to turn five (or ten) segments into eight. The plan is to make the exact same skirt but with different seam lines so I can easily create the eight gathered segments.

First I measured the circumference of the bottom of the skirt, and came up with around 185".  I divided that by 8 and rounded the result up to 23-1/4". Starting at the center front of the skirt, I began to mark every 23-1/4" section.  The back two sections are a bit smaller (I probably mis-measured the skirt slightly), but as long as the dress is symmetrical on both sides, I'm ok with that.

Next, I pinned a ribbon from the center waistband edge to the center bottom. The back is easy, because there's already a back seam going from top to bottom. Then I pinned ribbons from the top to bottom along the three in-between points I marked on the right side of the skirt.  The left and right sides are the same, so I only have to do one half of the skirt this way.
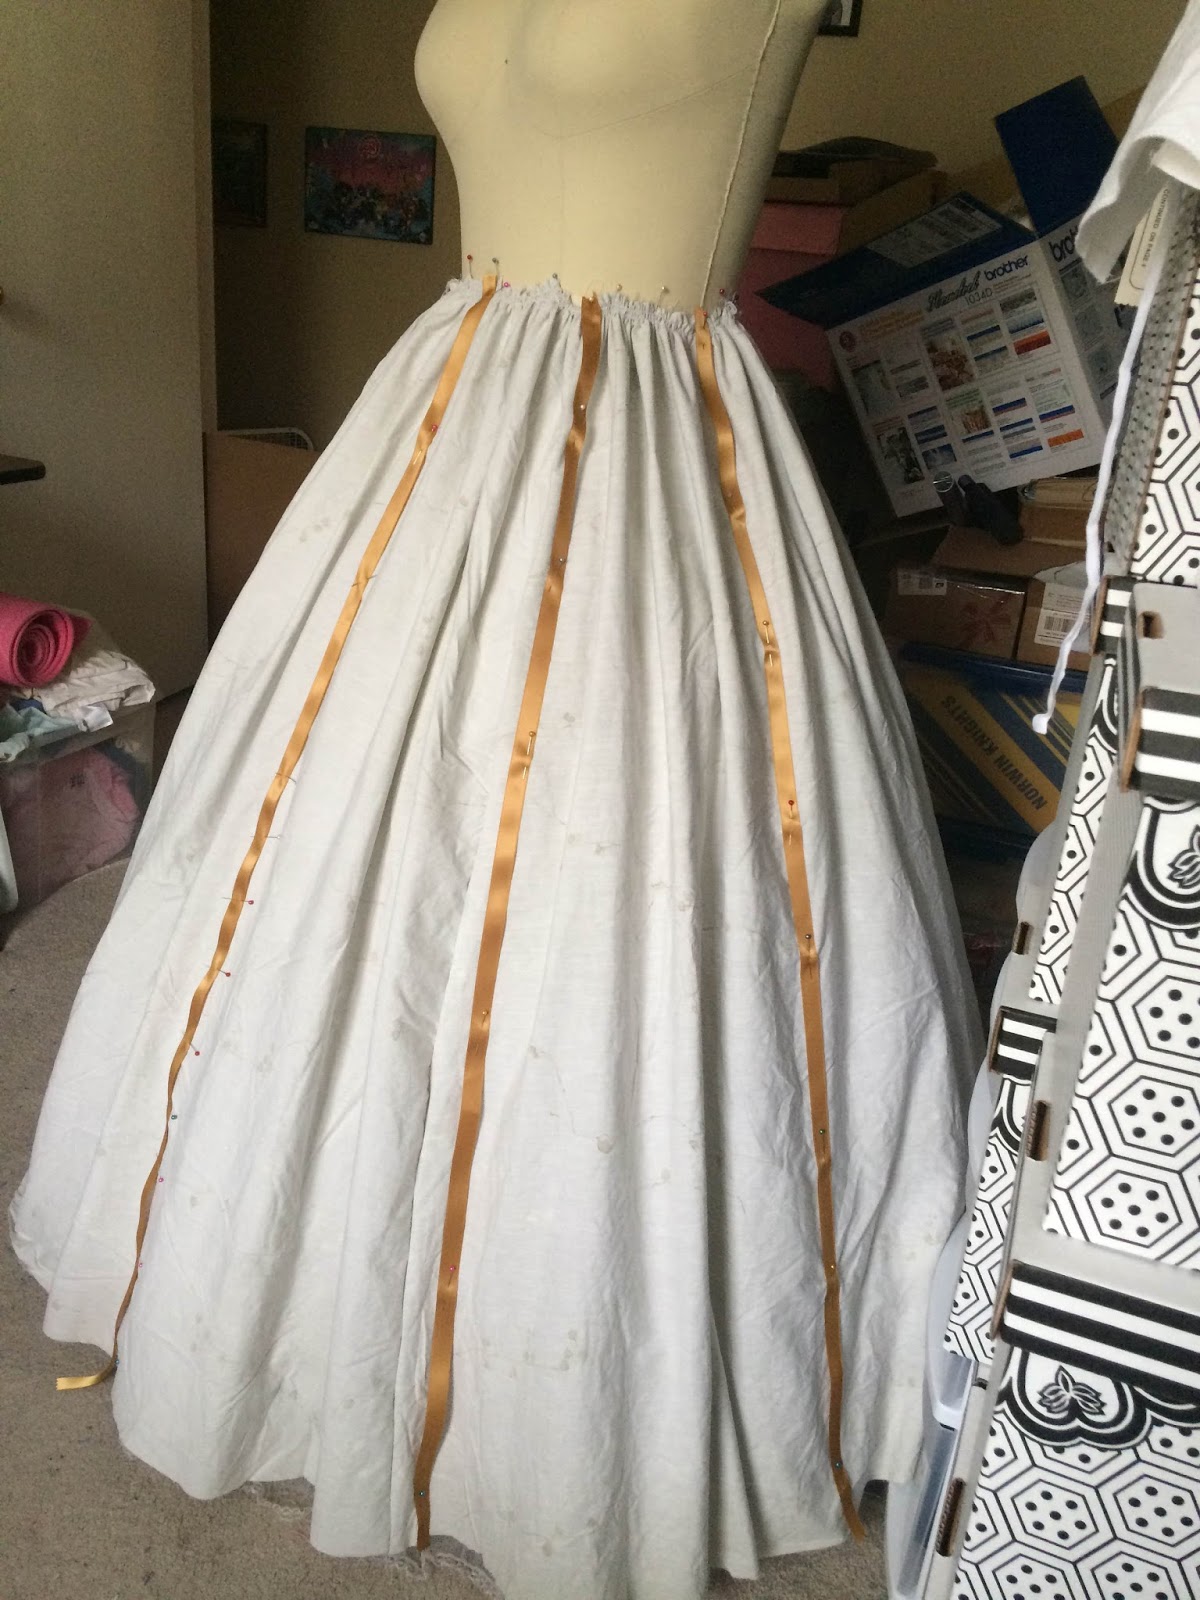
Then I took it off the dressform and ungathered the waistband. Using the ribbons as lines, I traced new pattern pieces from the mockup skirt, and then straightened them out using a yardstick.  This will be a second skirt mockup to test the gathering for the top layer of the skirt. It should be exactly the same as the under skirt, but divided into eight pieces.


I serged all four edges of the overskirt pieces (so they wouldn't shred away while working with them), and sewed them into a new skirt. On this mockup overskirt, I'll determine if the overskirt pieces are long enough once they're gathered, or if I need to add more length to them.
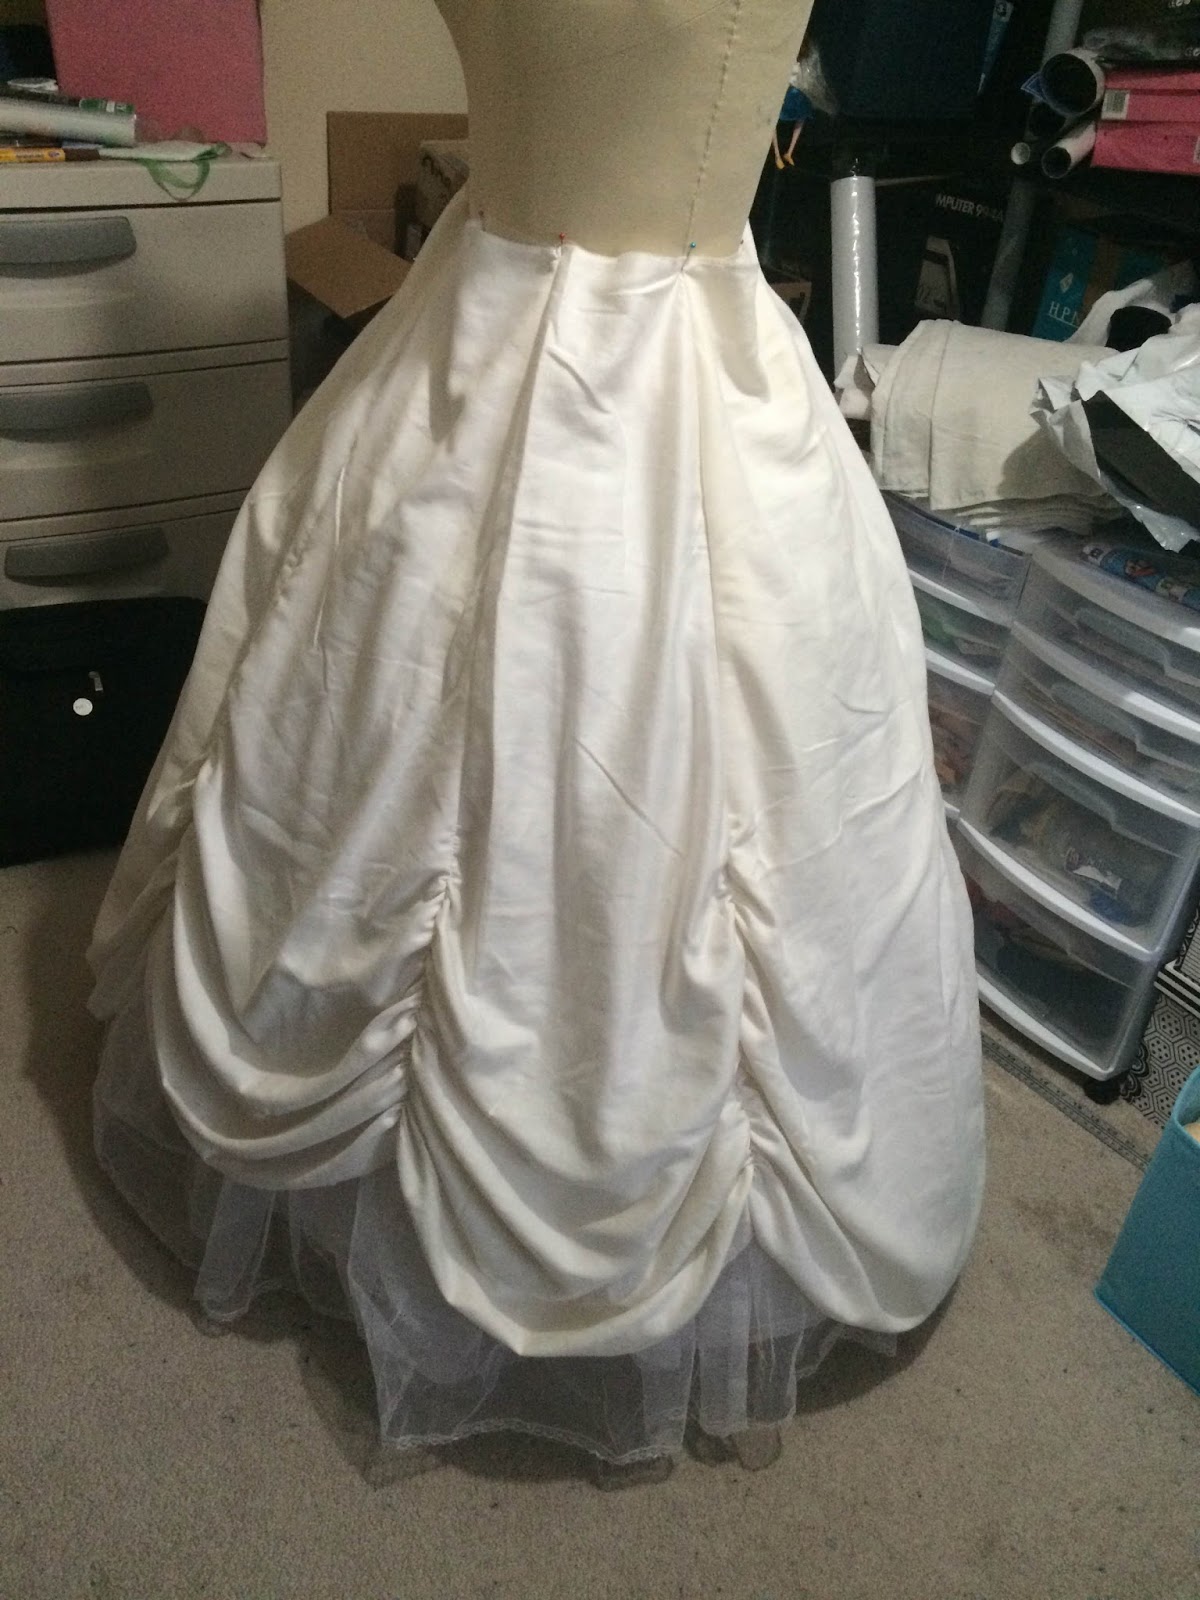
Next I sewed up all 8 pieces into a single skirt.  Then I added gathering stitches (just to test) along two of the seams.  I sewed the gathering stitches inside the seam, which worked a lot better than what I did on my first dress - gathering each individual skirt piece and then sewing them all together. The bottom of the skirt looked great, but the top edge was far too wide. Gathering it (as the pattern called for) made the draping look strange.

I determined that each segment of the skirt should become 7" wide at the top (7" x 8 = 56"), since I'd lose about 1" per side with the seam allowance and gathering to make the draping.  I marked this on each piece, and safety pinned the pieces together at that new waist mark.  Then I turned the dress inside out on the dress form and hoop, and marked a diagonal line with pins from the new waist mark to take up the excess fabric. Essentially, I removed a triangle shape from the top of each seam.  This also had the benefit of giving each piece a consistent width at the top.

Finally, after all of these strange adjustments, I gathered the seam lines on half of the dress, and adjusted the draping. This gives me the look I wanted for the skirt.


Tuesday, October 20, 2015

Belle Gold Ballgown - Materials and Plans

I've made Belle's ballgown before, but since I'm remaking it, I decided to change it up.  I did tons of research on the theme park dresses, and dresses that other people have made, and I decided I would have a few changes to mine since version 1.

I got out my sketchbook and started to take some notes about what I'd like to do differently.


First, I could never hem the ruched sections properly and they dragged on the ground, collecting dirt and debris (from outdoor photoshoots). I wanted to take a note from the theme park dresses and make an underlayer that would have a smooth hem, and put the gathered sections on top of that. Since much of the underskirt would never be seen, I planned to make most of it out of mockup fabric and only do the bottom 12" or so (the visible part) out of satin.

Second, I wanted this dress to be two parts - a bodice and a skirt. The original dress was so heavy being all one piece, and washing the bodice meant the whole thing had to go in the tub. I wanted to be able to wash the pieces separately.

Third, the original skirt didn't have as much volume as I wanted. Yes, it was big, but the gathered sections didn't have the fullness that I had envisioned.  I decided to break with tradition and use (gasp!) a different skirt pattern than my standby, McCalls 4090.  Simplicity put out a pattern for the live action Cinderella movie (Simplicity 1026/S0229) and the lines looked perfect - a bodice with the pointed front that was off the shoulders and a huge skirt, both separate pieces.

 
I couldn't find any fabric I liked locally (sadly, the gold sparkle satin I used before has been discontinued from JoAnns, and Golden D'or didn't have anything that I really liked either). I ordered swatches from Fabric.com and Onlinefabricstore.net and found some nice shades of crepe back satin. Some was far too yellow, but there was a nice range of gold tones.


I also had some fabrics left over from my first gown. I had a few yards of a shimmering gold 2-way stretch fabric, and a bunch of a sheer sparkle fabric from JoAnns.


I liked the two-tone effect of Belle's dress in the film, so I selected a dark gold for the bodice and skirt swags, and a lighter gold for the skirt and shoulders.  The deadline is Dec. 5, but I'll be wearing this in a holiday parade with my red fur-trimmed cloak over it.  That means I only really need to have the skirt finished, and I can fudge the bodice for now. I can also get away with things not being perfect, since the dress will be seen from a distance.