 |
| 5th and 10th Doctors |
 For 2014's Doctor Who Day at the British Emporium in Grapevine, TX, I had a last-minute idea to make a miniature 5th Doctor costume for my one-year-old. This whole thing was put together in about a week from materials I already had around the house. This costume won Best Child Costume at the event!
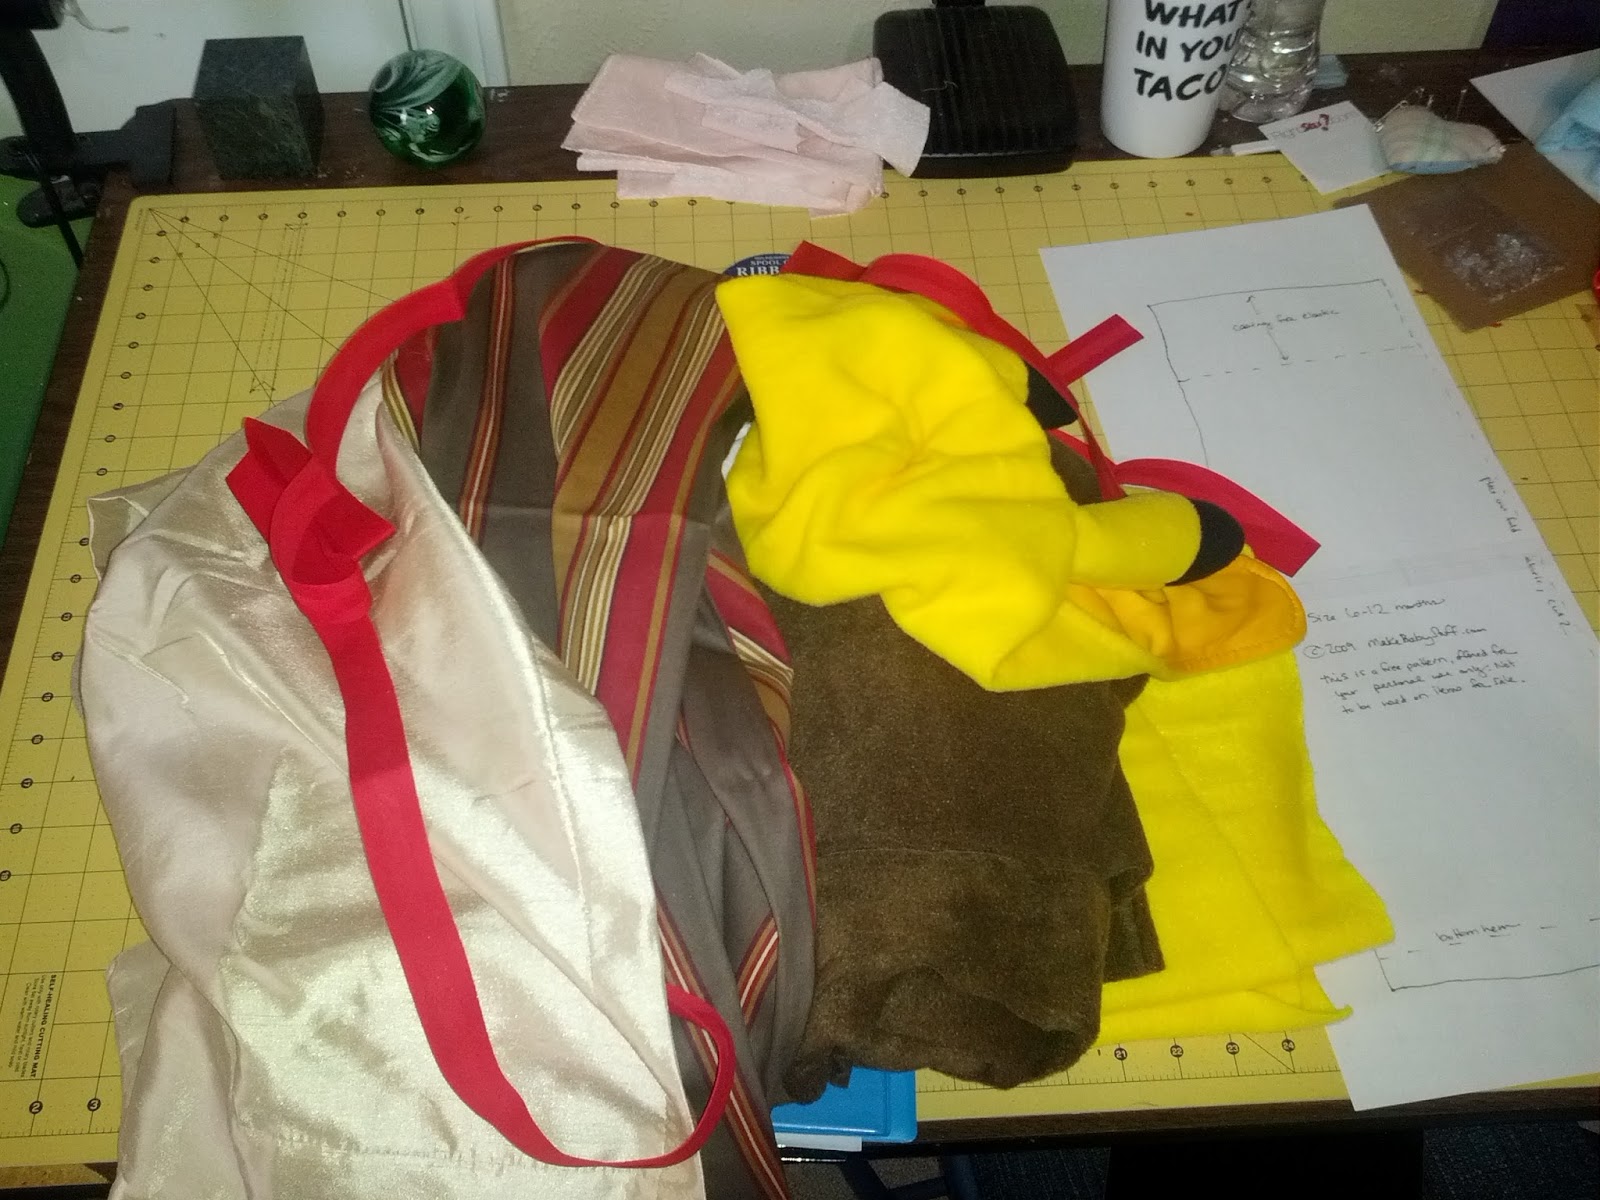
(I was also putting together a mini Pikachu costume for Halloween, which is shown mixed in with the supplies at left.)
Materials used:
- a plain white onesie
- Drapery sample in off white
- cream colored fleece
- scraps of fleece in green, white and red
- ribbon in black, white, red, and gold
- elastic
- red fabric paint
- red bias tape
- Fabric-Tac glue
Shirt and Celery
For the shirt, I started with a plain white onesie. I cut out a red chevron shape from fleece and glued pieces of white and narrow black ribbon on top using the Fabric-Tac glue. Once this was dry, I glued the whole chevron to the onesie.
While this was drying, I made the celery stalk from tiny bits of green fleece. I used a variegated darker green for the leaves.


I cut out small rectangles of white fleece to make the shirt collar tabs, and I painted a question mark on each one using the fabric paint. When these were dry, I glued them to the onesie using the Fabric-Tac.

Pants
I used a free, simple pants pattern, found here. I cut the pieces out of cream colored fleece because I already had some in my stash. I also thought that fleece would be more comfortable than a woven fabric because it stretches. Before I sewed the pants pieces together, I used a zigzag stitch to sew down pieces of ribbon, alternating red and gold, to imitate the stripes on the 5th Doctor's pants.


Jacket
The jacket was by far the most difficult part of the costume. I started with an off-white drapery sample piece. It wasn't ideal fabric, but it was the right color, and it was free. It also included the lining fabric, which I cut out at the same time as the basic jacket pieces. This added a bit more structure to the finished jacket. There was just barely enough fabric to make a jacket for a 1-year old, and the sleeves were a bit too short. I used this pattern for the basic jacket front, back, and sleeves.
 |
| Drapery samples |
Since I was putting this together in a hurry, I fudged the collar and lapels. I made a pattern (shown below in red fabric), and I cut it out of the drapery sample and fused lightweight interfacing to the back. The seam is hidden underneath the folded-over collar, and the raw edge in the front is covered by the bias tape. The collar doesn't lie exactly flat along the back of the neck, but for a one-off costume, it does the job.
 |
| Creating fake lapels on the jacket |
For the trim, I used Fabric-Tac glue to attach red bias tape along all the front edges of the jacket. Sewing would have looked more finished, but gluing went a lot faster.
 |
| Finished costume |


 |
| Ready to go fight the Daleks! |
No comments:
Post a Comment